Our Process
Have an idea? We can make it real
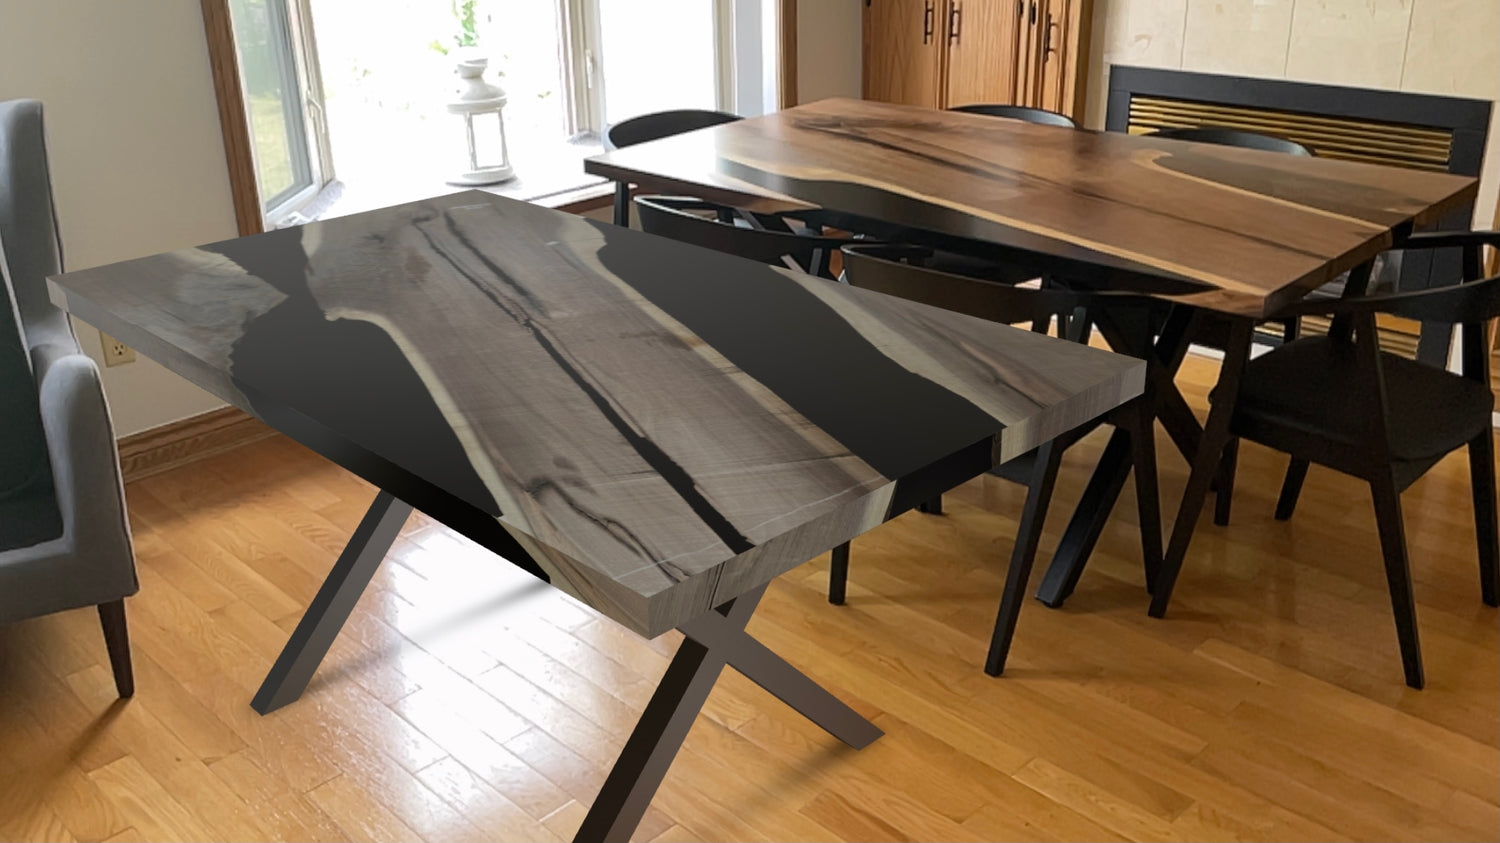
It all begins with an idea. We care about making the product that you want. We design the piece alongside you, taking the time to provide the species, colour, size, and base that you love! We can even create a life size realistic augmented reality model (shown in left of image) using the exact piece of wood that will be used for the table to get a better visualization of how a piece will look in your home. Contact us for more information.
Choosing Lumber
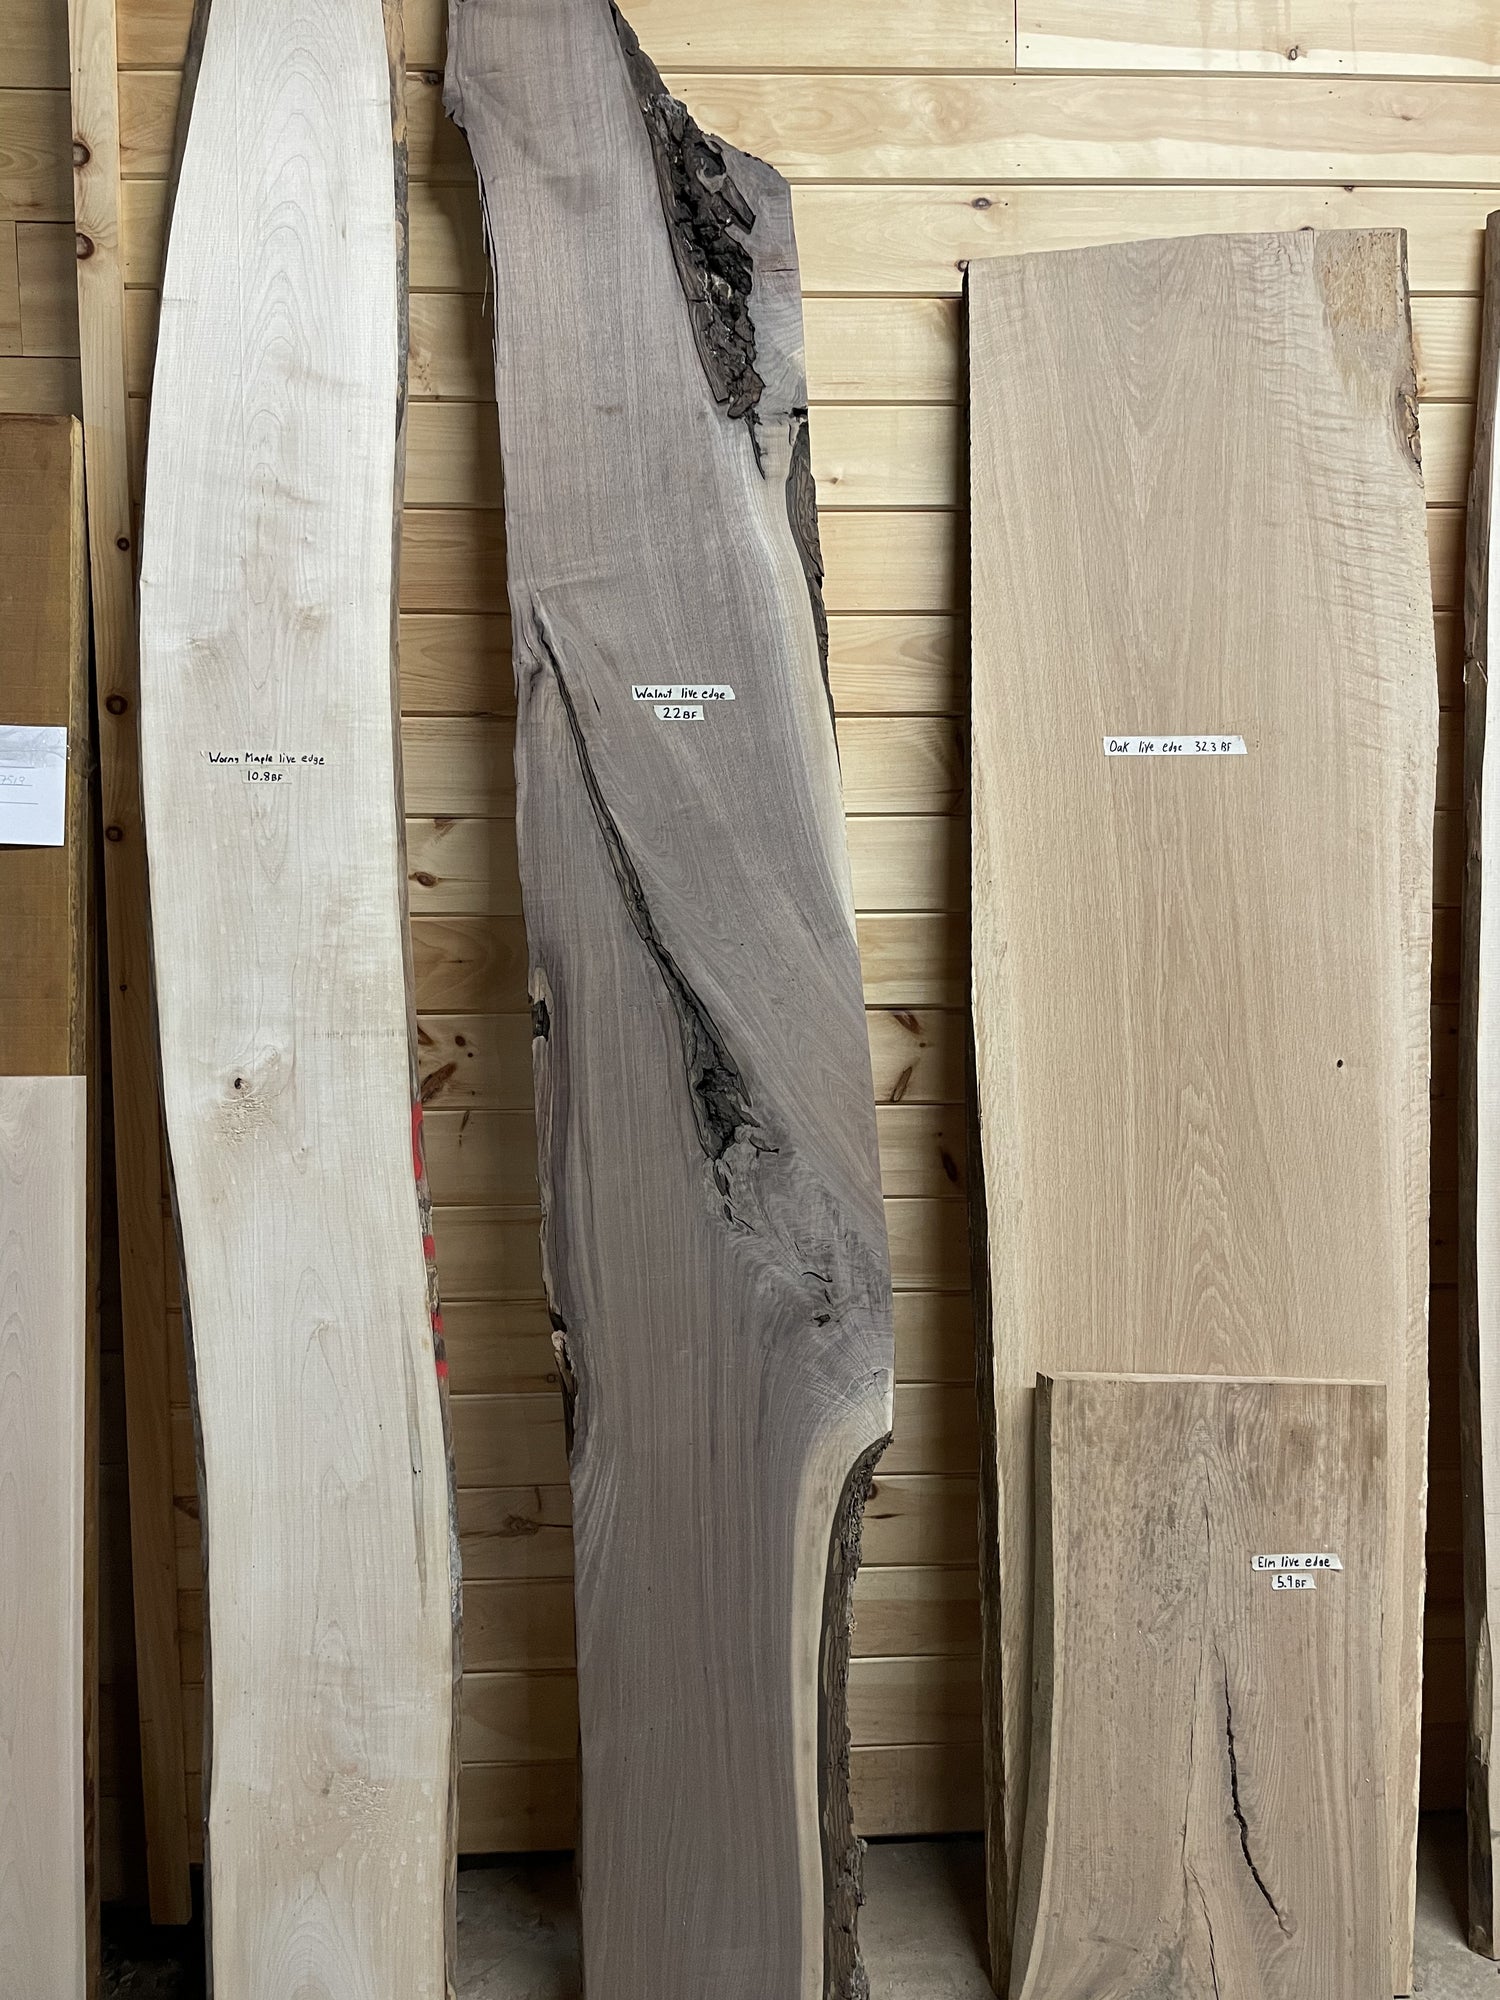
After choosing a product size and style that suits your needs, we contact our lumber suppliers, all located right here in Ontario. All of our dealers start with a sustainably sourced log that is milled on site. The wood slabs are air dried then kiln dried to ensure they are dry for use. Once we find a slab that suits all of your needs, we will personally pick it up to ensure it is at the upmost quality.
Epoxy and Pigment
Epoxy
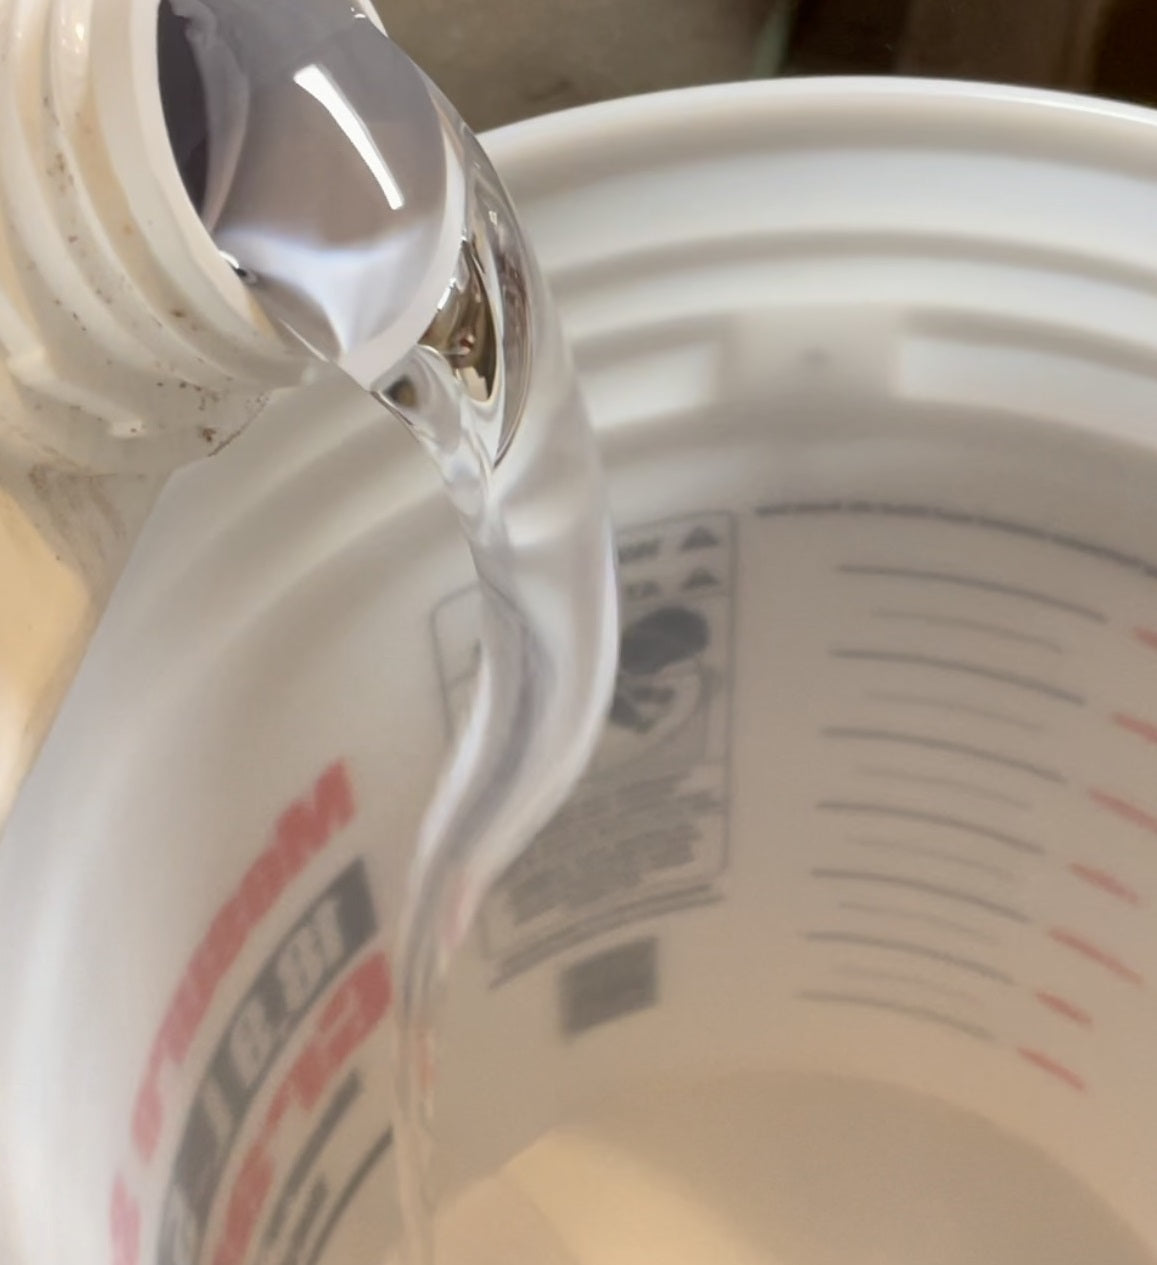
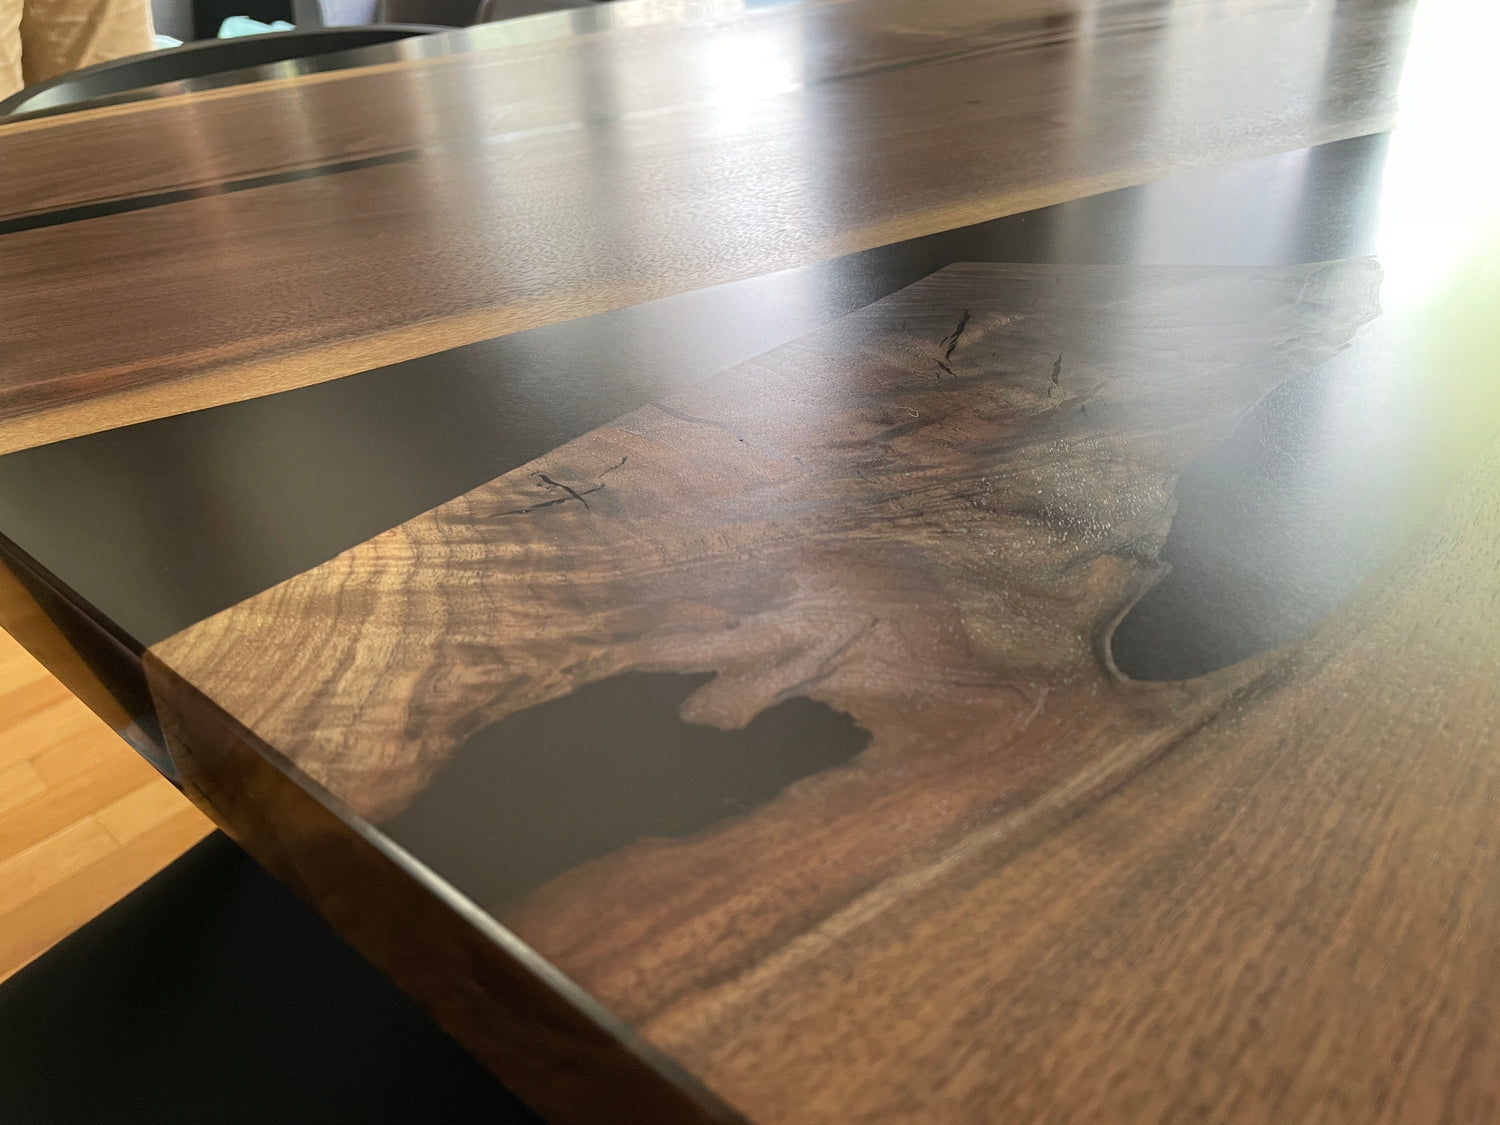
Our epoxy of choice is Ecopoxy Flowcast, a high quality bio-based epoxy. Flowcast is Ecopoxy’s second generation deep set epoxy following their original liquid plastic. They took everything that made the top quality epoxy special already and improved their formula with Flowcast by decreasing the viscosity for better bubble release, better UV protection, improved scratch resistance, and better clarity. Paired with Ecopoxy’s liquid dyes and pigments, you get one of the highest quality epoxy tables.
Pigments
We use some of the highest quality mica pigments available that are all non toxic and cruelty free. With over 60 different colours and styles we are able to match or create practically any colour.
Mixing and Pouring
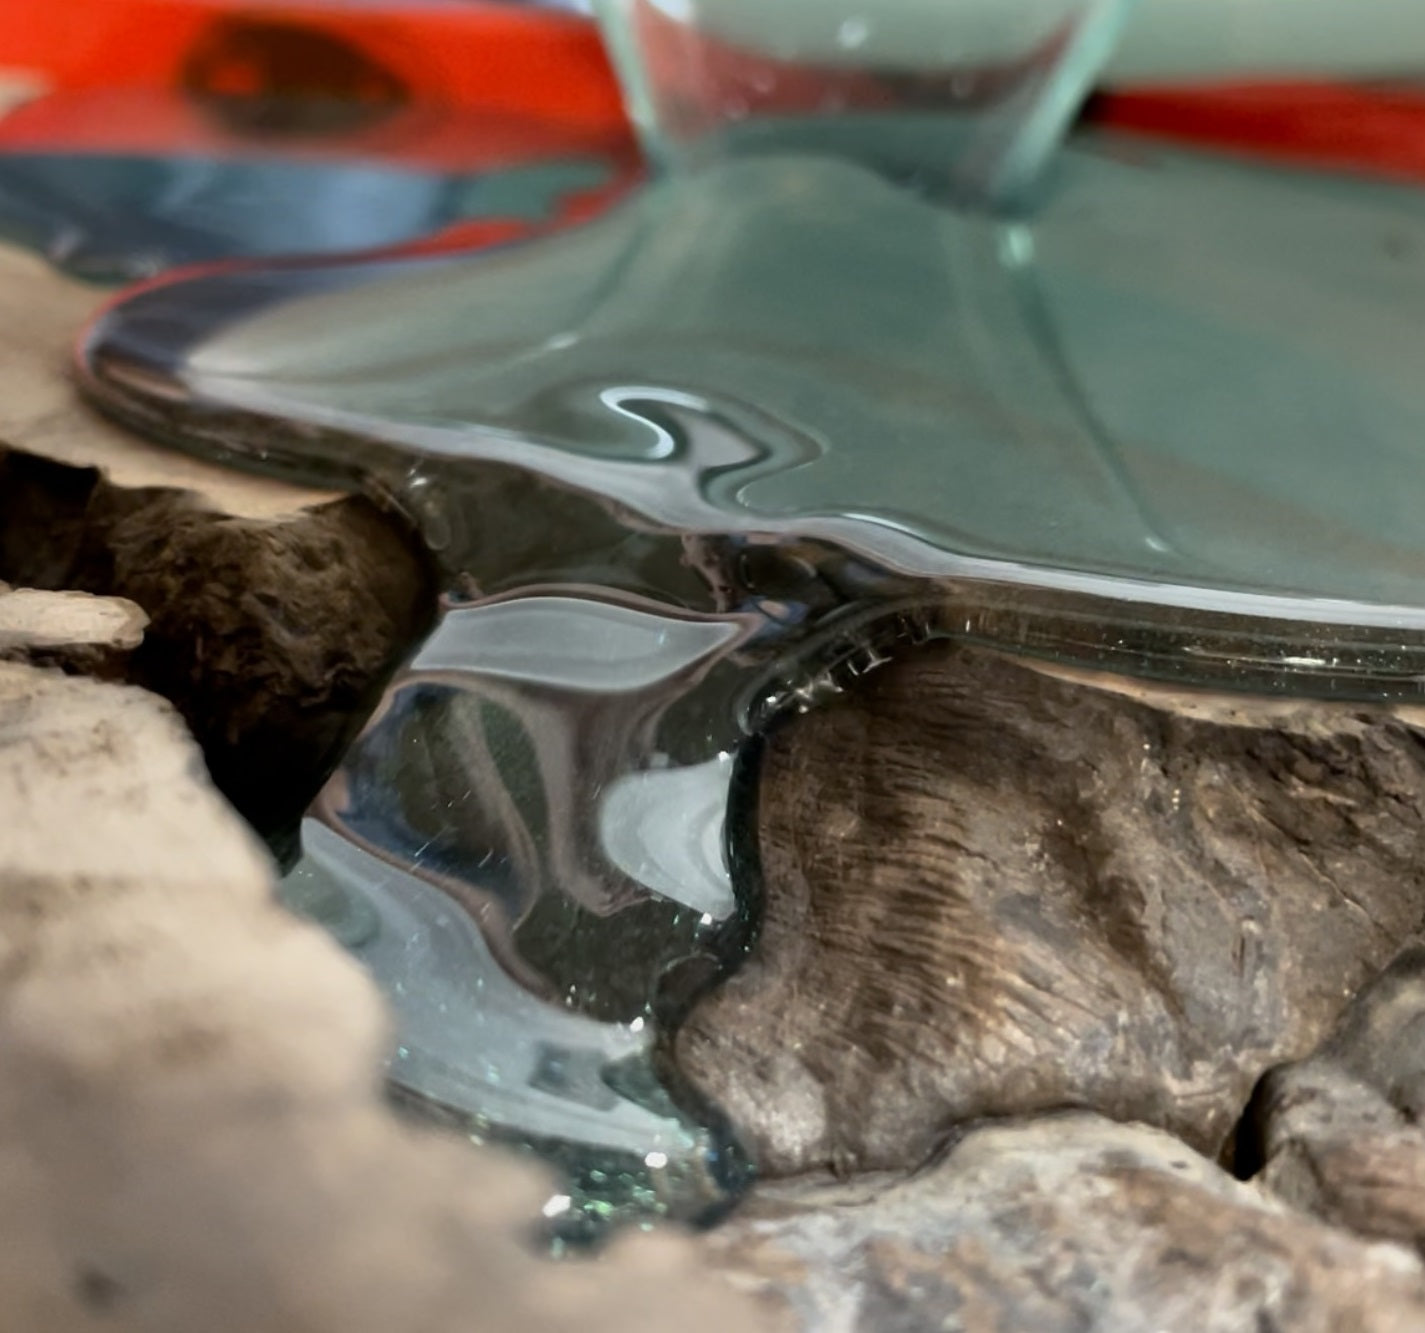
After calculating the amount of epoxy needed for the pour, we mix in the pigments for the desired colour. The more pigment, the more opaque the epoxy will be, so we start with less and work our way up to ensure we have the exact colour and clarity you are looking for. After mixing in the pigment we leave the buckets to sit to allow any bubbles from mixing to make their way to the top where we can pop them before pouring. We actively cool the table to slow the curing time and to allow any remaining bubbles to work their way to the top, while monitoring the temperature to prevent overheating.
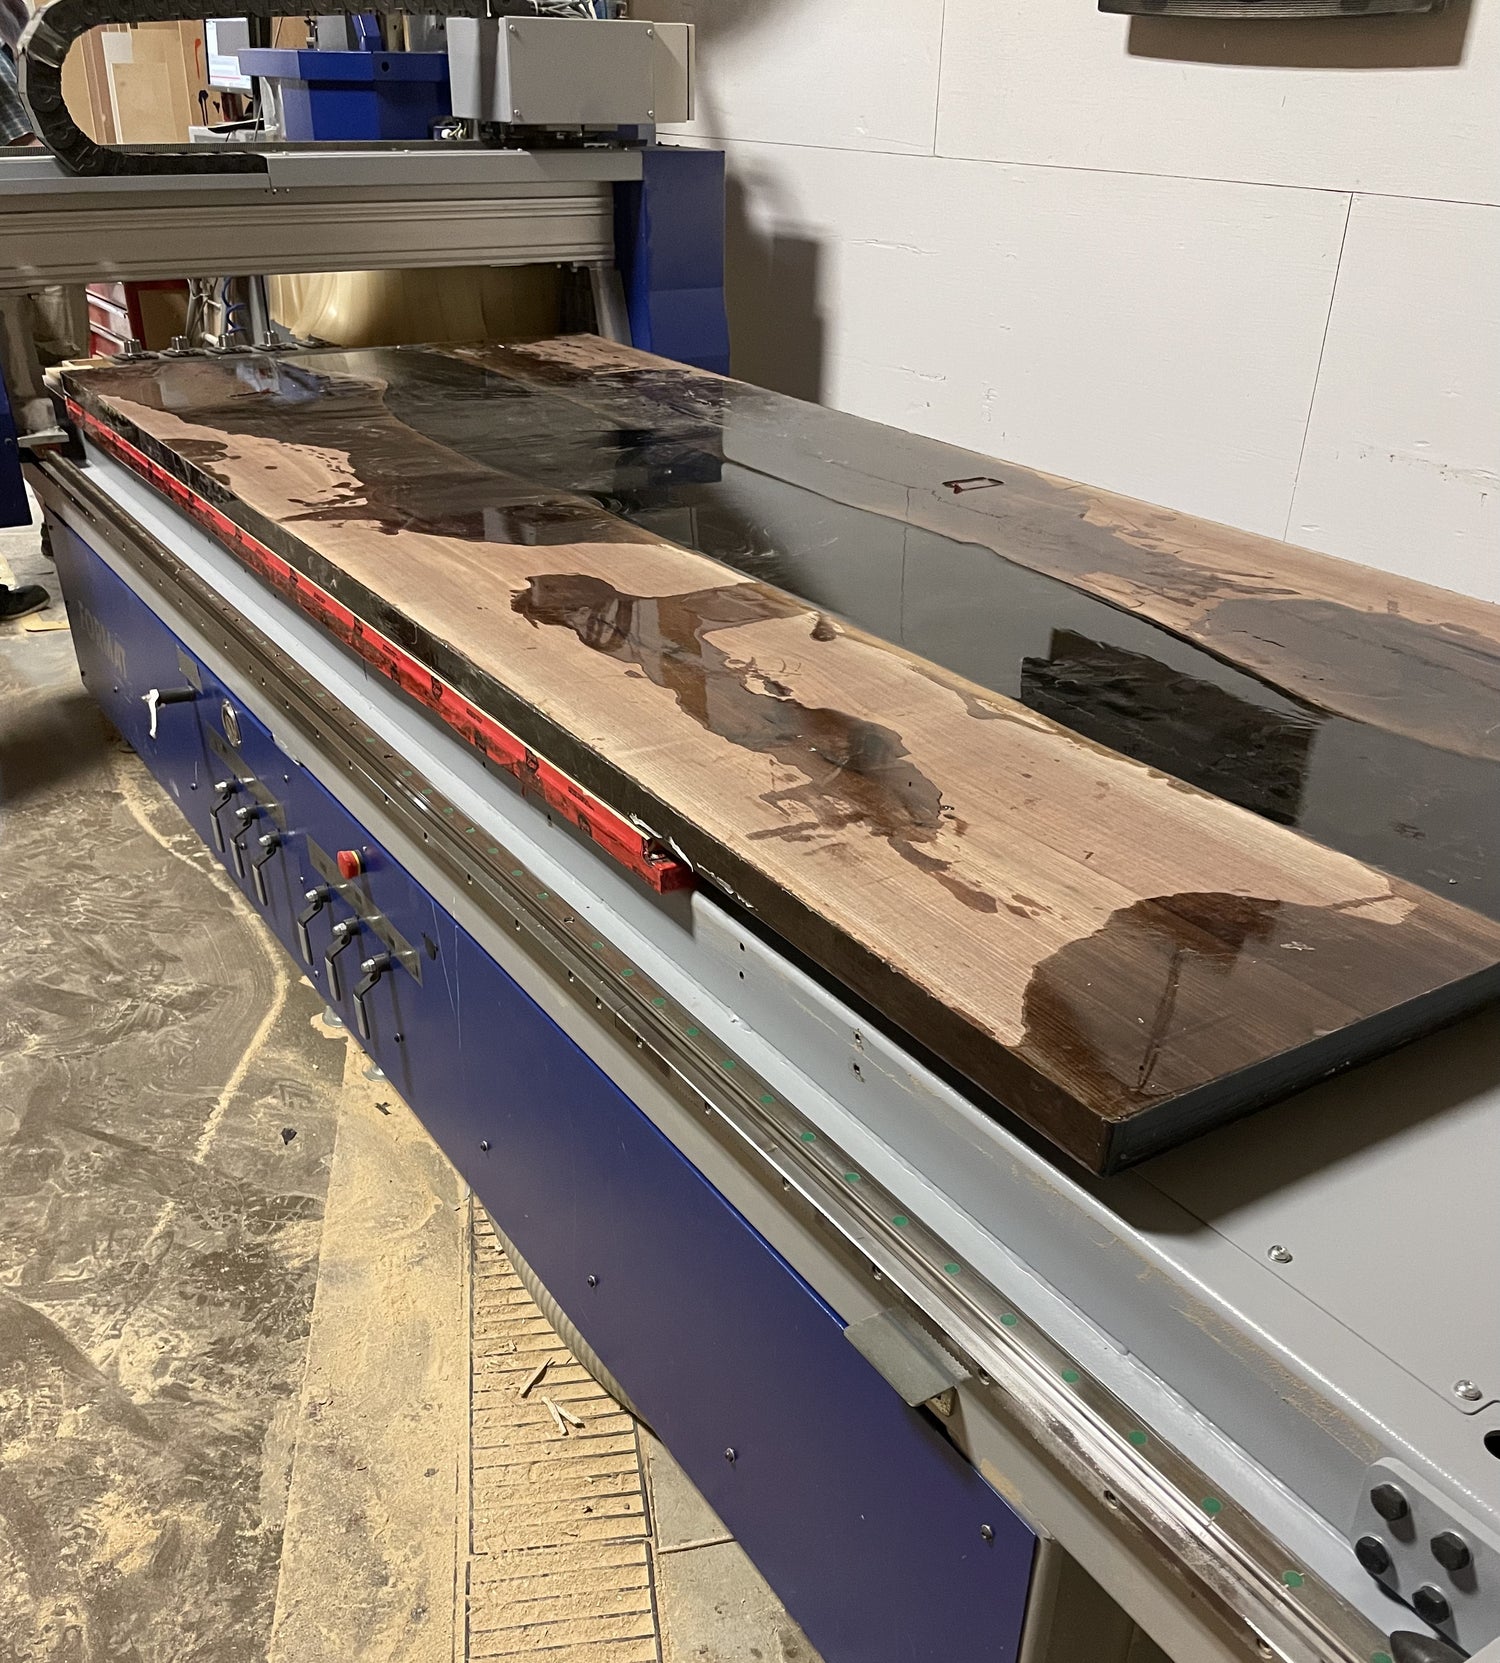
Flattening
Once the epoxy is fully cured, we put the piece in our router sled or for larger items take it to our local CNC shop to flatten and bring down the piece to the desired thickness. We pair this with a specialty surfacing bit to achieve the flattest top possible before moving on to sanding.
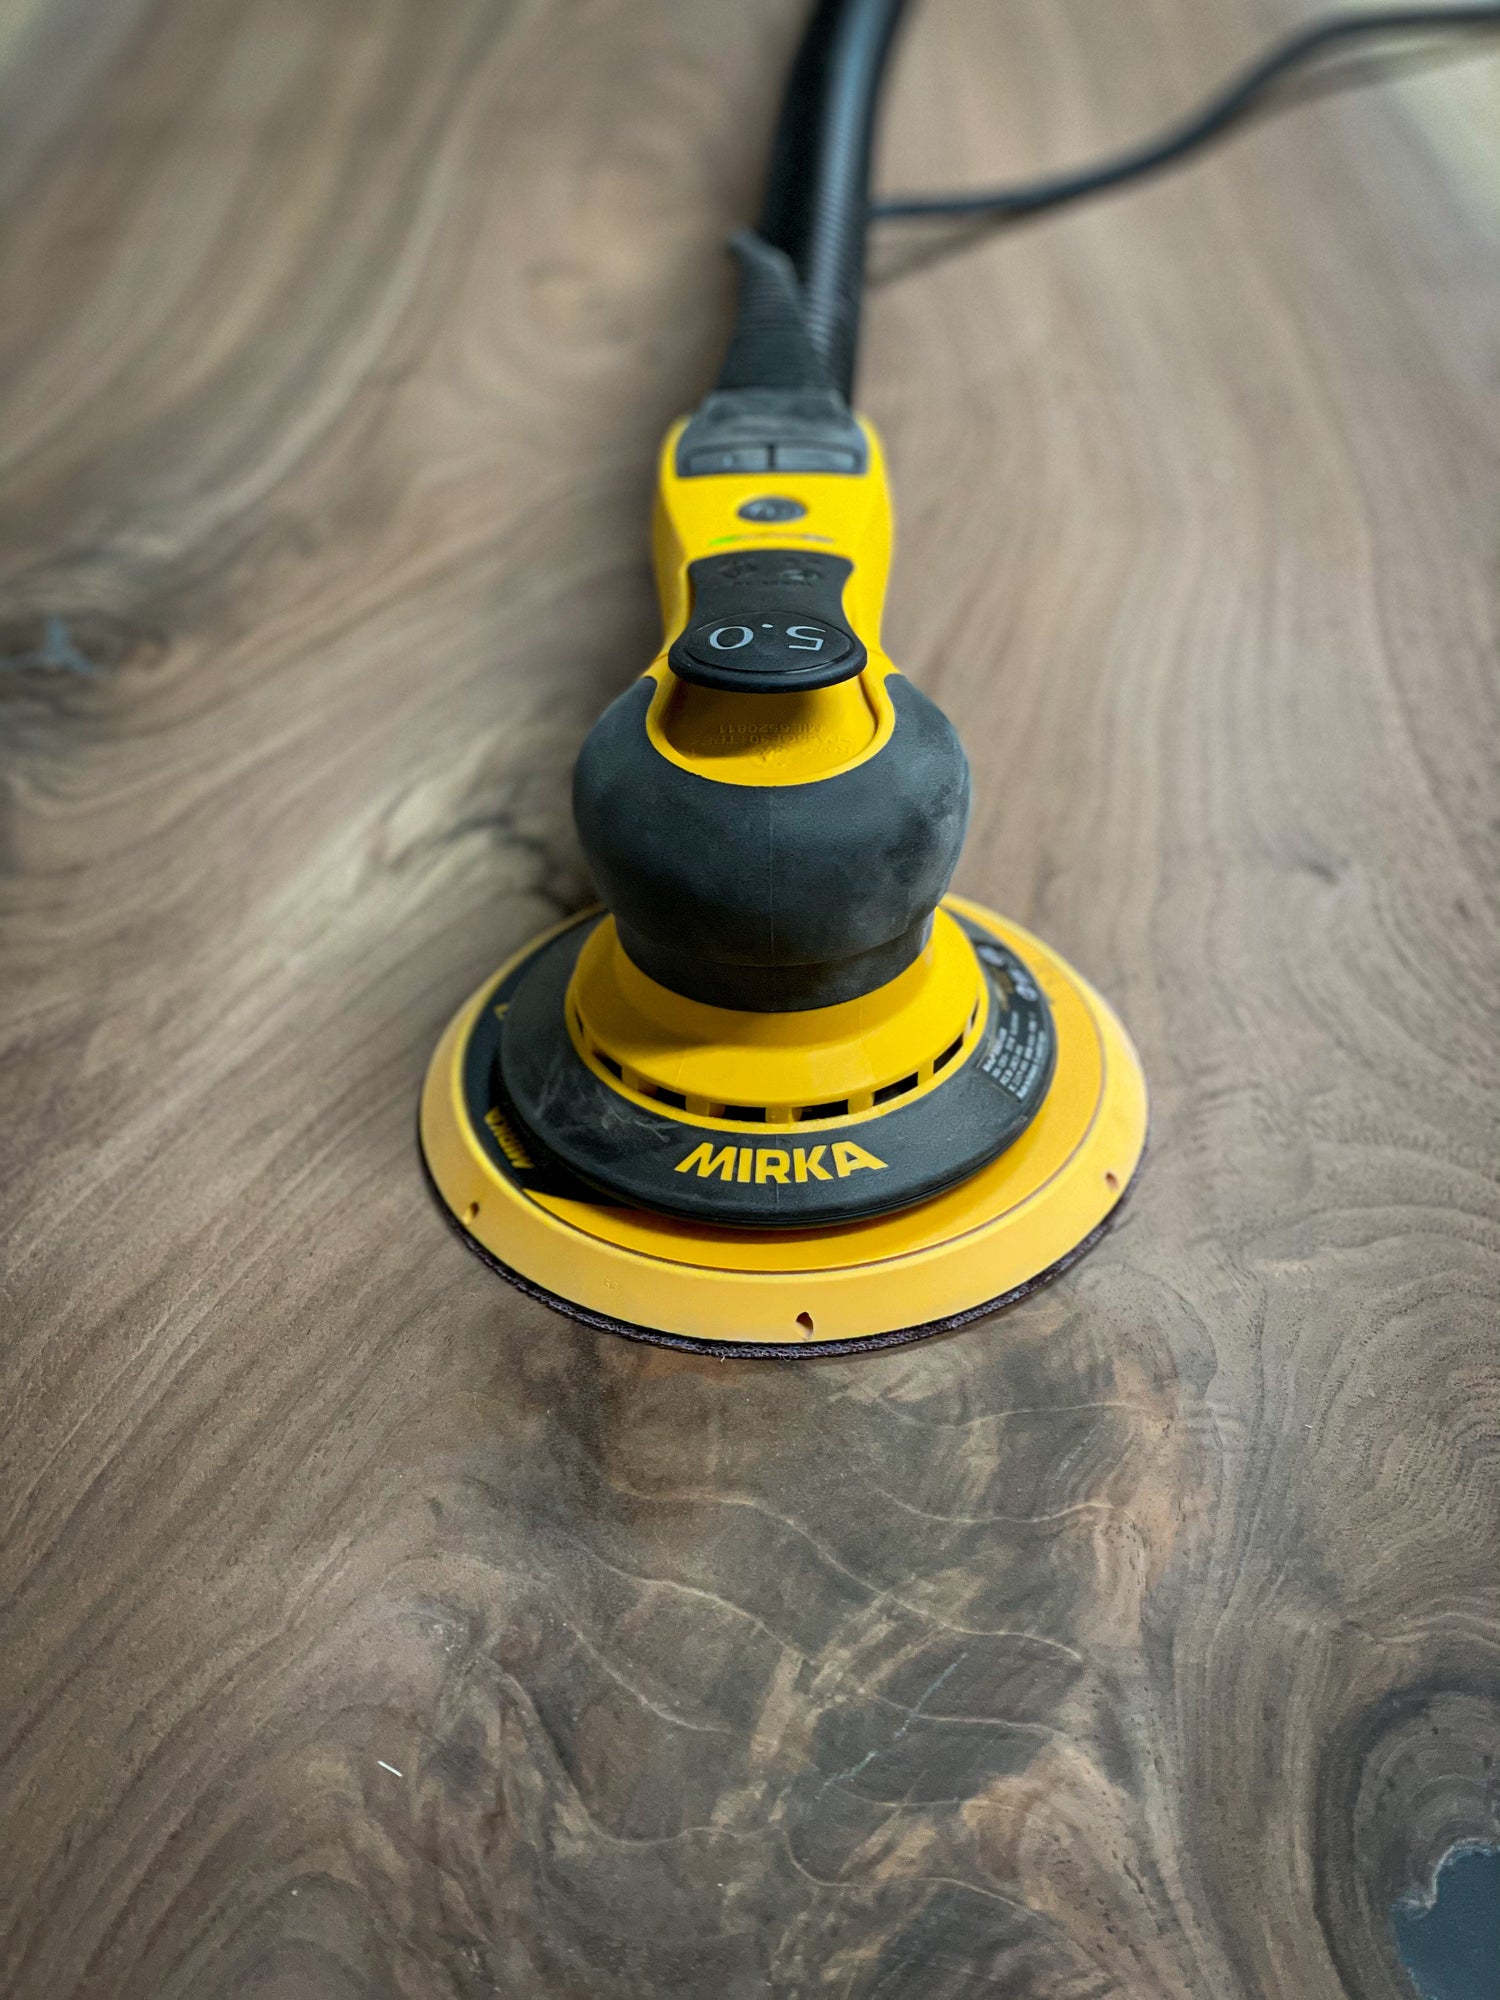
Sanding
We start our sanding process with 60 grit to remove the marks left over from the router, then work up to 400 or 600 grit depending on the project. We water pop between our final grits to raise the wood fibers giving a smoother finished surface that holds up better to spills.
Finishing
We start our finishing process by cleaning the surface with a tack cloth to remove any dust. Our first coat of finish is Osmo’s extra thin to soak deep into the wood and add a good base that helps with liquid protection. The next 3-4 coats are with Osmo’s Polyx hardwax oil. This finish is the main layer of protection on the piece. Our final coat of finish is with Osmo’s liquid wax which evens out the previous coats and adds better clarity. Liquid wax we also recommend for anyone purchasing a table as it is considered an annual renewer and deep stain cleaner for Osmo products, paired with Osmo’s spray cleaner for day to day type cleaning.